📖 GroomFlow Pro Add-on Guidebook
- Welcome to GroomFlow Pro
- Welcome to the official documentation and user guide page for GroomFlow Pro.
- Learn how to maximize your workflow efficiency using this advanced guide-driven asset.
🚀 Key Features Guide
- Guide-Based Strand Generation
- Creates dense hair strands from a lightweight guide curve workflow without the performance limitations of traditional systems.
- Built around a guide-to-strand generation pipeline, allowing artists to design clean guide curves while automatically generating large amounts of production-ready strands.
- Surface-Locked Strand Distribution
- Fixes the issue where traditional duplication setups cause strands to float above the surface or clip through the mesh, especially around eyebrows, beards, eyelashes, and high-curvature facial areas.
- Solves this problem with a BVHTree-powered surface projection system that continuously snaps generated strand roots directly onto the target mesh.
- Results in a stable, surface-locked groom where every generated strand remains accurately attached to the skin without unwanted gaps, floating roots, or penetration issues.

- Optimized Production Workflow
- Keeps guide curves completely separated from generated output strands, providing a clean and non-destructive grooming workflow.
- Mirrors modern professional grooming pipelines while maintaining a simple Blender-native workflow for character hair, eyebrows, facial hair, fur, and Unreal Engine groom preparation.
- Designed to maximize visual fidelity while reducing manual cleanup and correction work during production.
🛠 Installation Guide
Before starting the workflow, make sure to set up the add-on correctly by following these steps:
- Download
- Get the latest version of the GroomFlow_Pro add-on file ready.
- Installation
- Install and activate the program within Blender preferences.
- Follow the general Blender add-on installation guide.
- Install Essential Extensions
- Go to the Extensions menu inside the add-on preferences.
- Click 'Install' on the recommended base extensions to unlock full functionality.
- Preferences
- Adjust the options to fit your specific workspace layout.
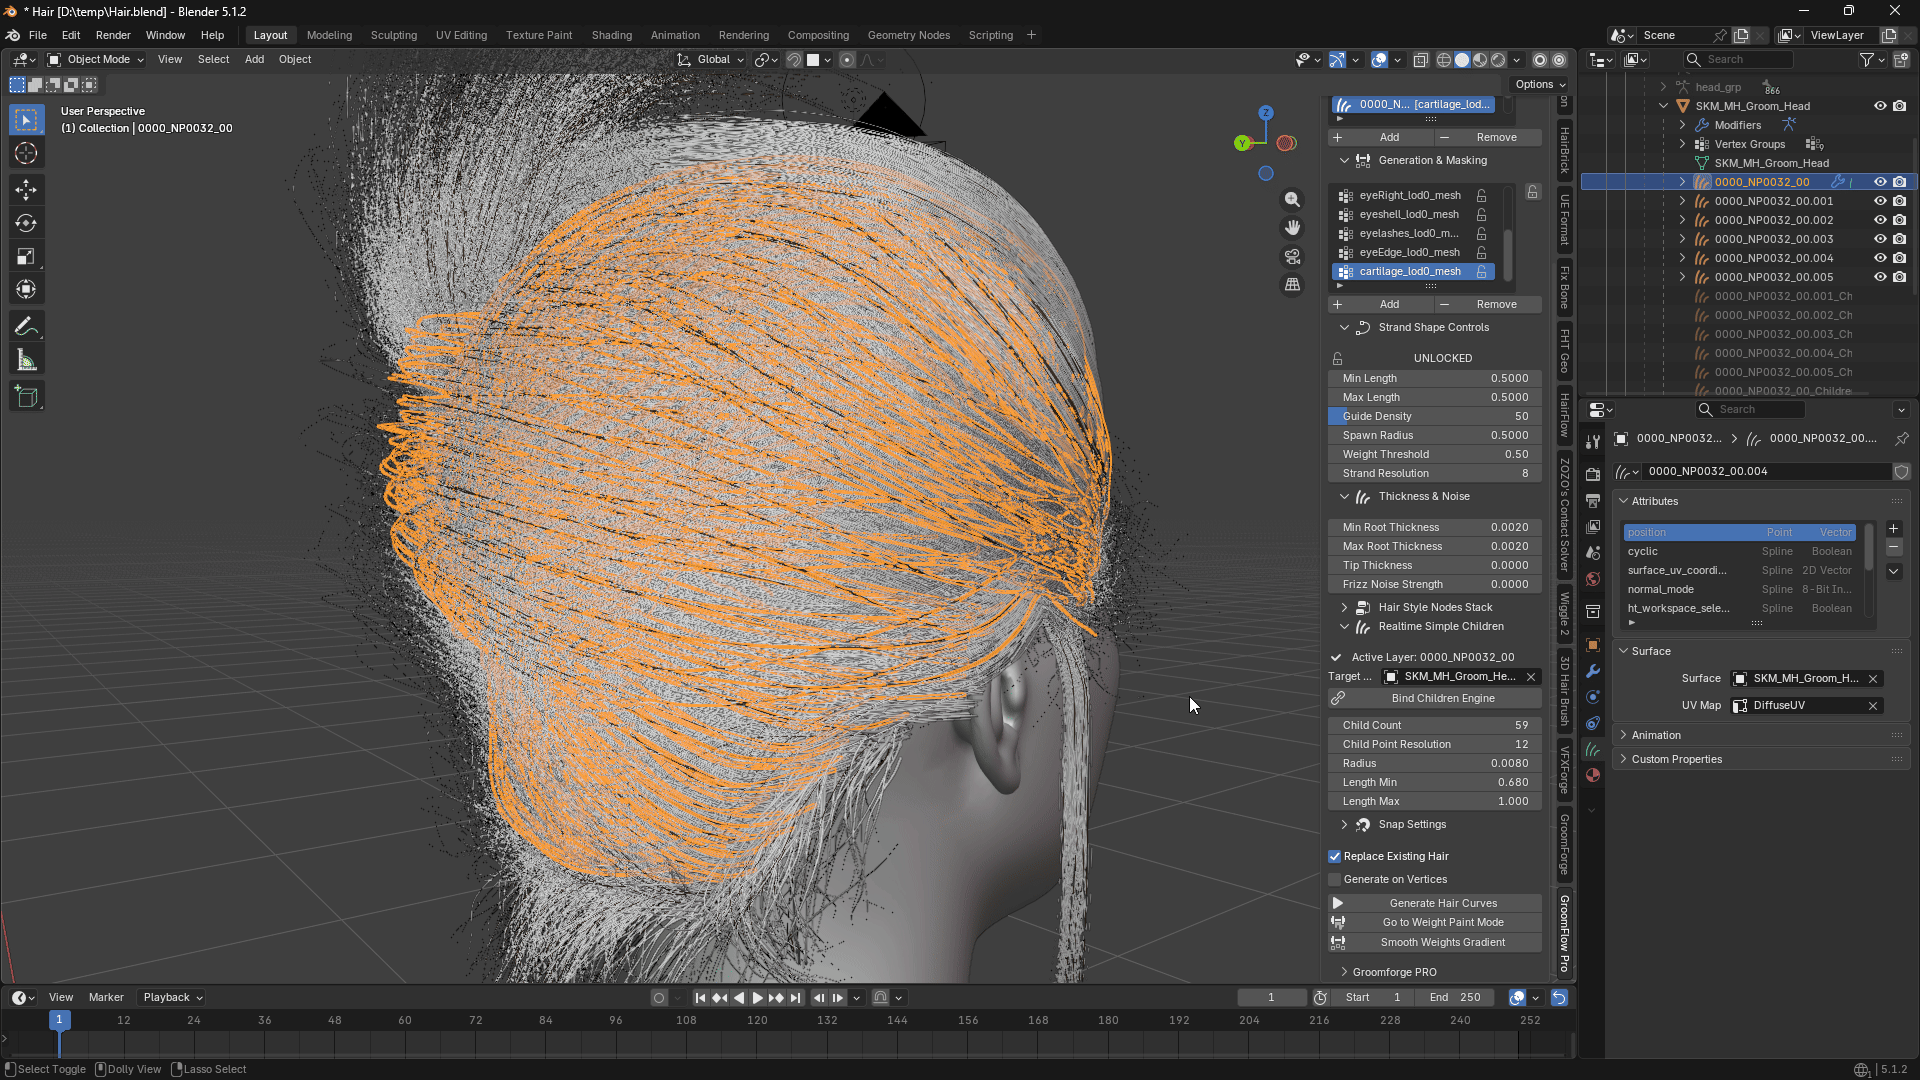
1. Global Scale Calibration
- Target Base Scale
- Sets the global base scale factor for all generated hair guide curves.
- Prevents hair from appearing too small or large due to scene units or character mesh scale differences.
- Adjusts the value based on the default 1.0 to uniformly control the scale of all guide curves.
2. Process Control Buttons
- Generate Hair Curves
- Executes the 50% length blending algorithm to generate actual hair curves on the surface.
- This is the final output button used after completing all setups.
- Prevents bald spots in weight 0 areas, guaranteeing a minimum of 50% base length.
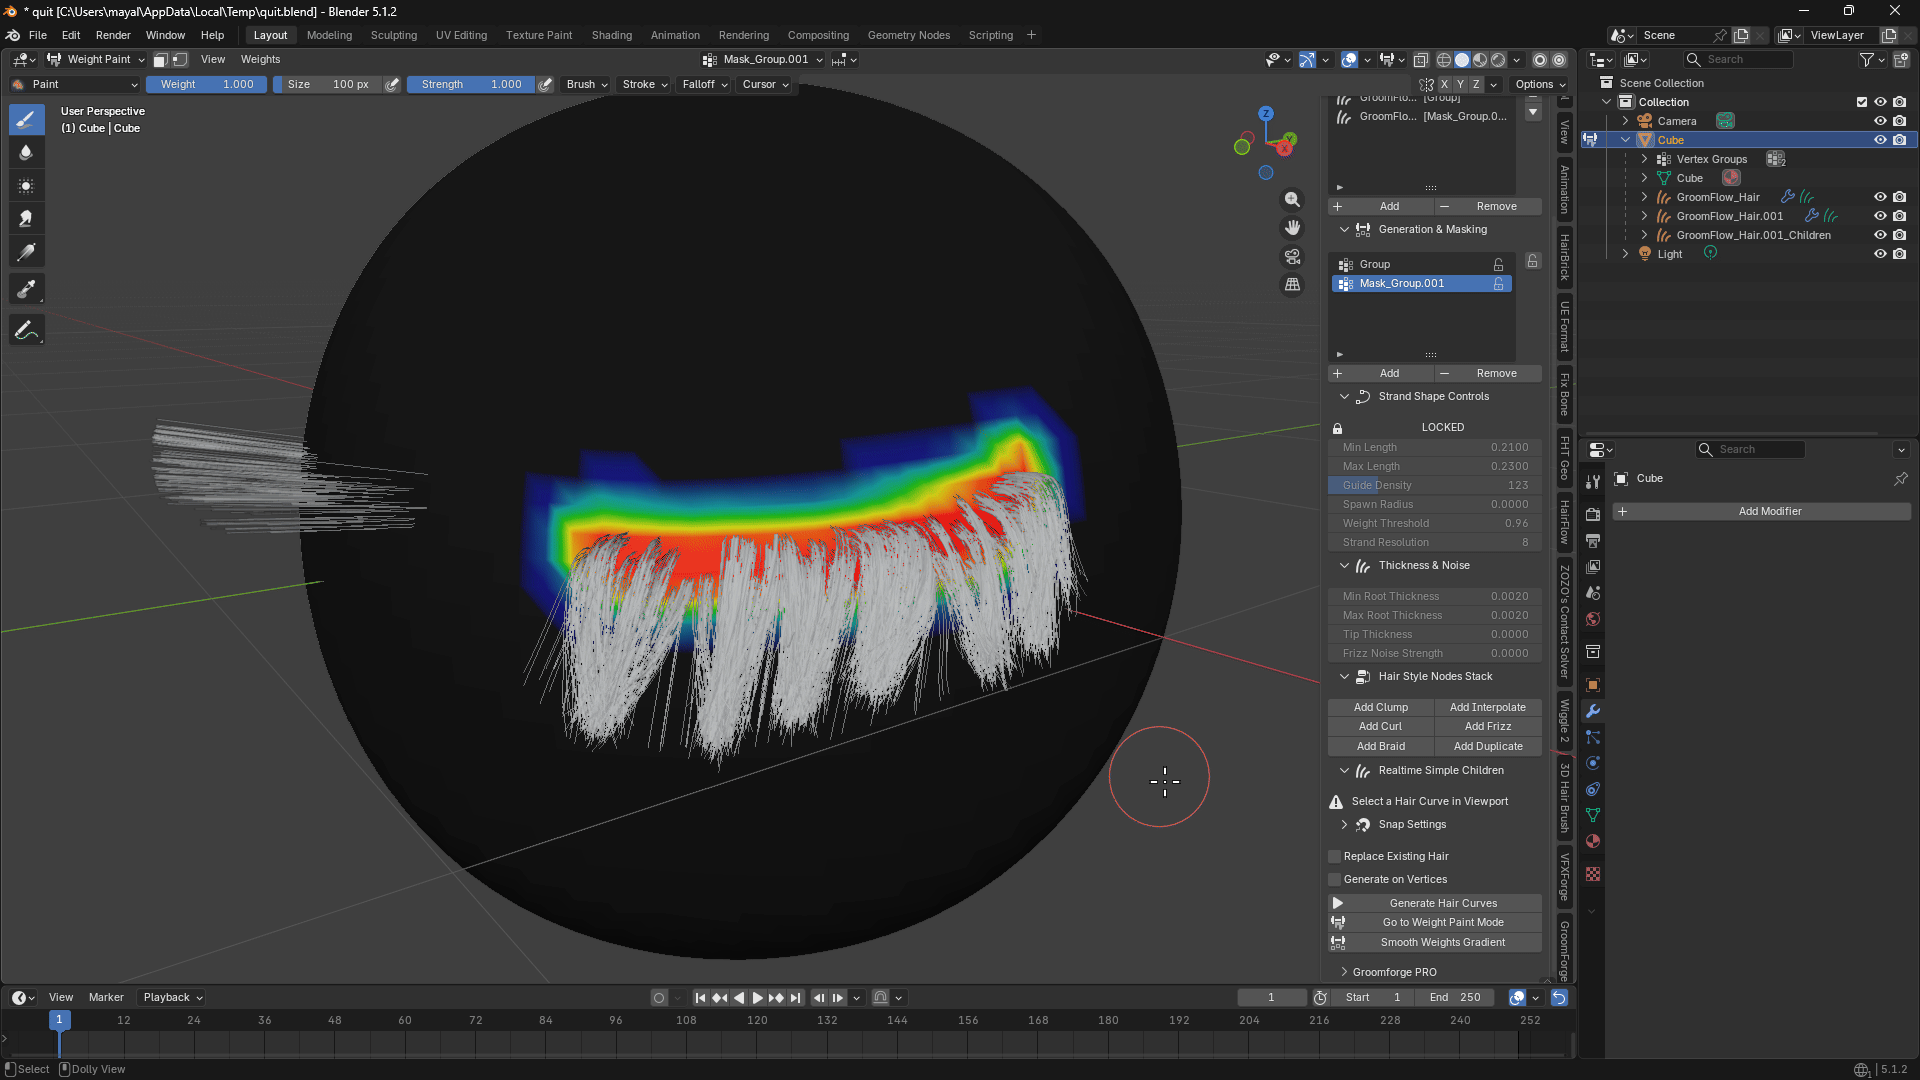
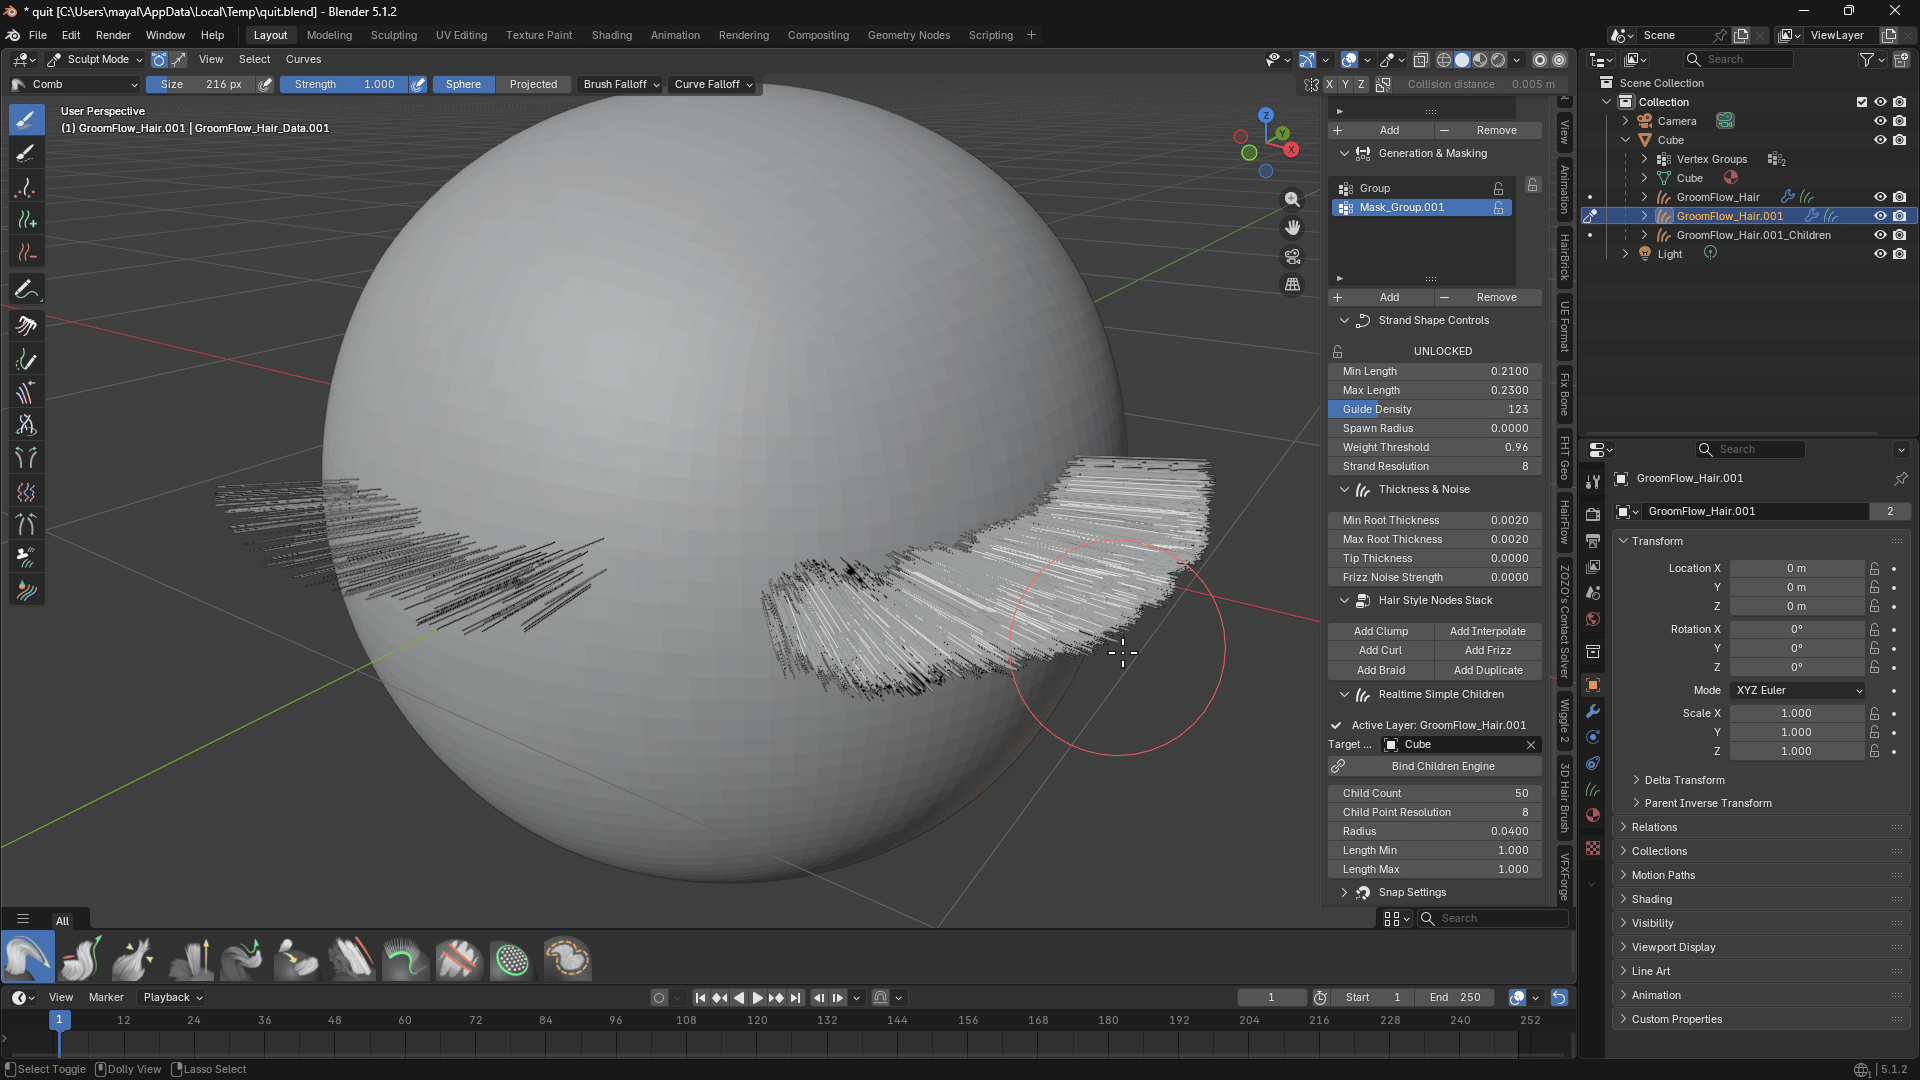
- Go to Weight Paint Mode
- Instantly switches the selected mesh into 'Weight Paint Mode'.
- Entry point to check and manually brush dense zones (Red) or short zones (Blue).
- Eliminates menu navigation, allowing direct map tweaks within the creation workflow.
- Smooth Weights Gradient
- Smooths out the boundaries of the designated weight map into a soft gradient.
- Sharp transitions cause abrupt length changes that look unnatural.
- Expands the transition zone, ensuring a smooth length gradient from 100% to 50%.
Warning
- Never Modify Properties After Editing Curves
- NEVER change the property control values (Density, Length, etc.) in the panel after manually editing or sculpting the generated hair curves.
- Changing any value forces the algorithm to recalculate and respawn the hair from scratch, completely wiping out your custom sculpt and guide edits.
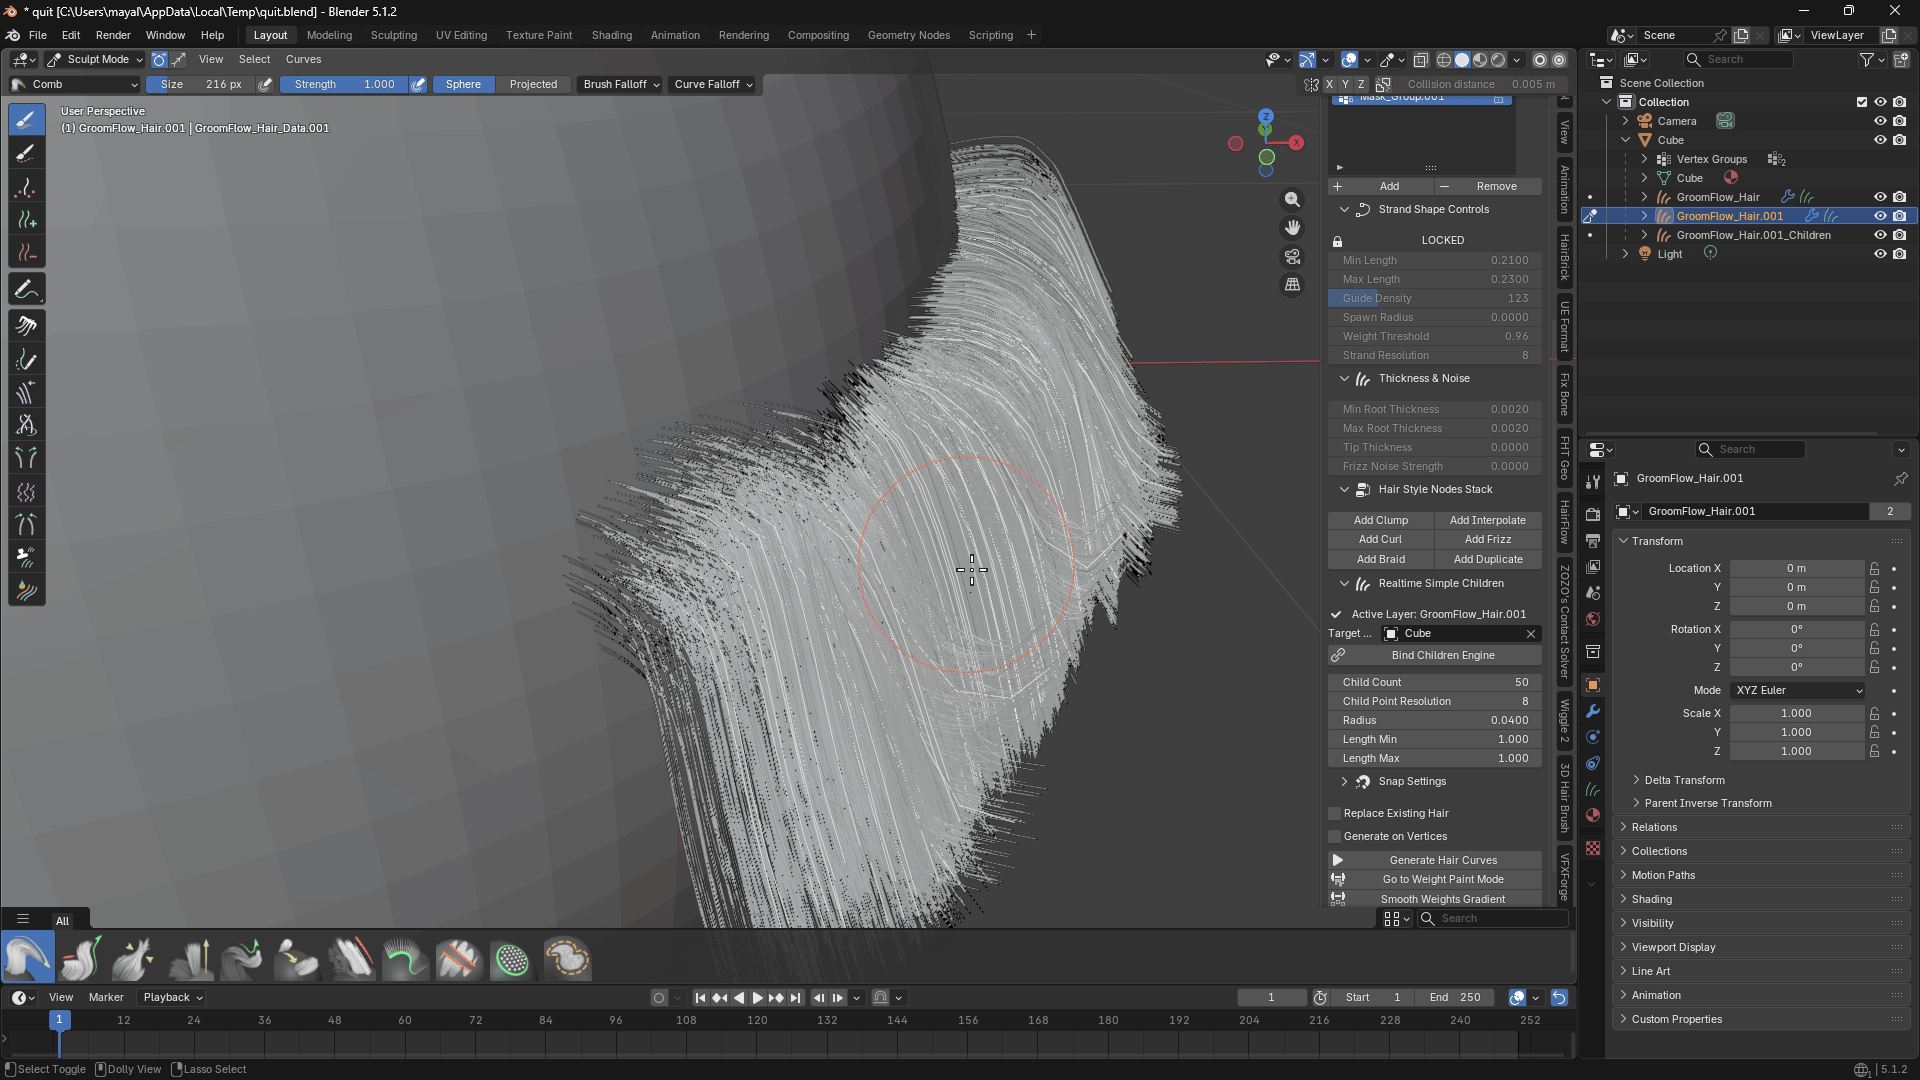
- Enforce Lock Feature in Sculpt Mode
- Always activate the 'Lock' feature before entering Sculpt Mode to protect your custom hair groom data.
- The Lock feature acts as a crucial safety mechanism to prevent accidental parameter tweaks from vaporizing your manual editing progress.
3. Generation Options
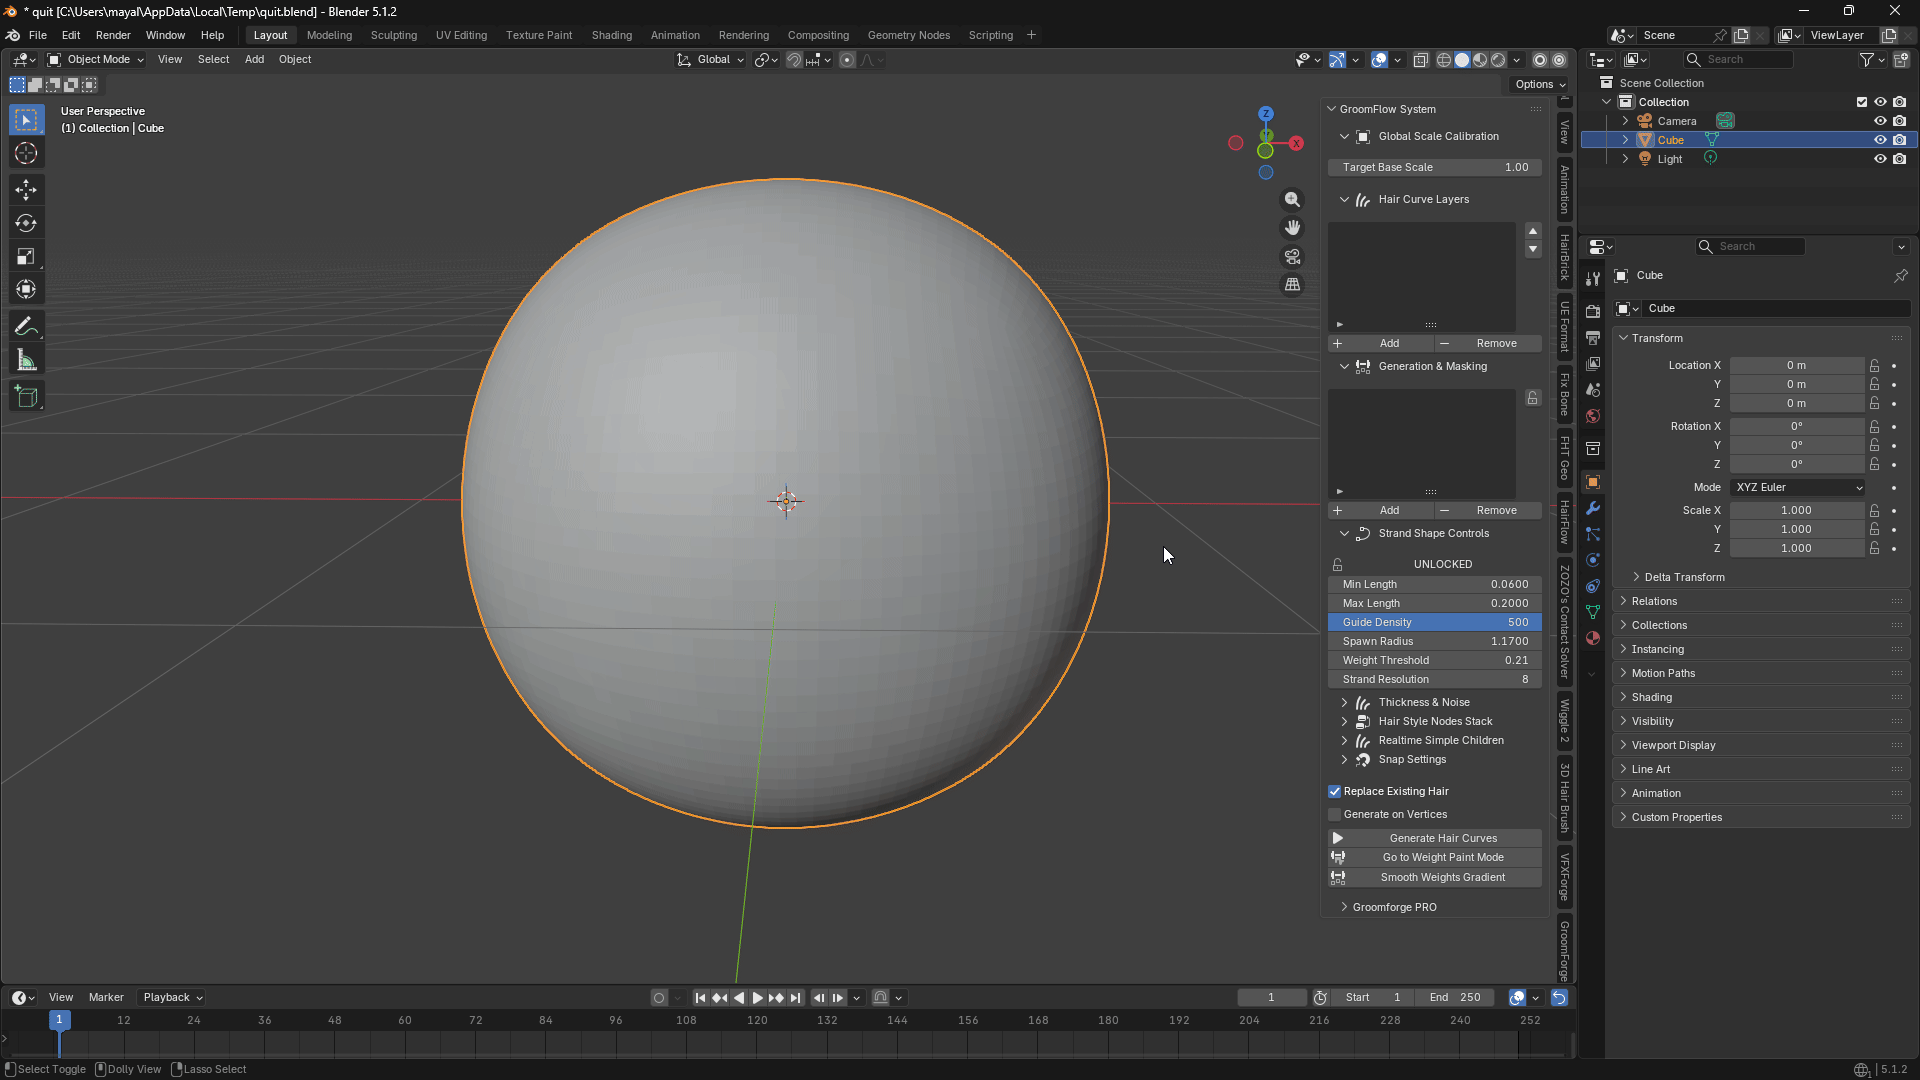
- Replace Existing Hair
- Automatically deletes and overwrites previous hair curves in the active layer when generating new ones.
- Unchecking this option preserves existing hair, allowing you to layer and stack new curves on top.

- Generate on Vertices
- Snaps and generates hair guide curves precisely on the vertices of the mesh instead of the face areas.
- Useful for low-poly assets or specialized grooms that require perfectly aligned hair placement based on vertex layouts.

4. Hair Settings & Property Controls
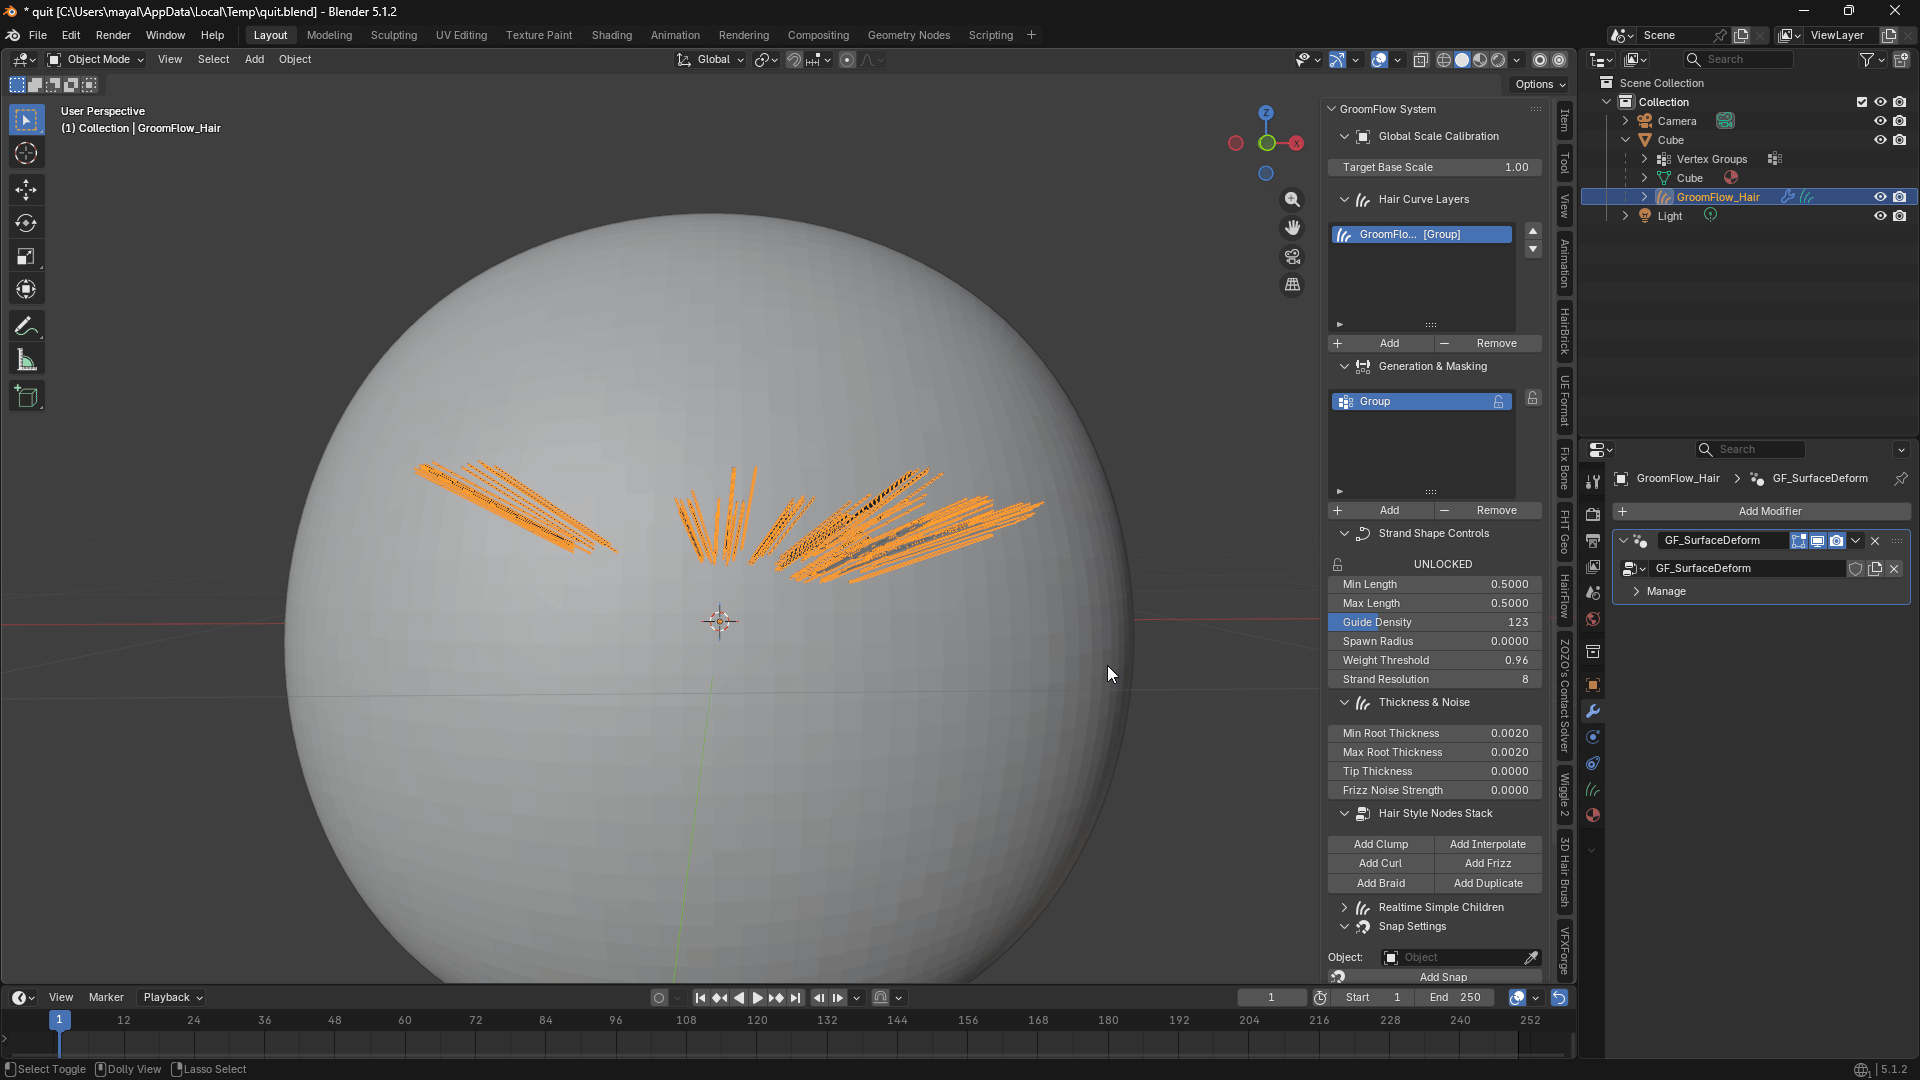
- Min Length
- Sets the minimum length limit for hair generated in the lowest weight areas (0.0).
- Lower values shorten hair in blue areas, guaranteeing 50% of the maximum length based on the current algorithm.
- Max Length
- Sets the maximum length for hair generated in the highest weight areas (1.0).
- Functions as the baseline value determining the hair length in key zones painted in red.
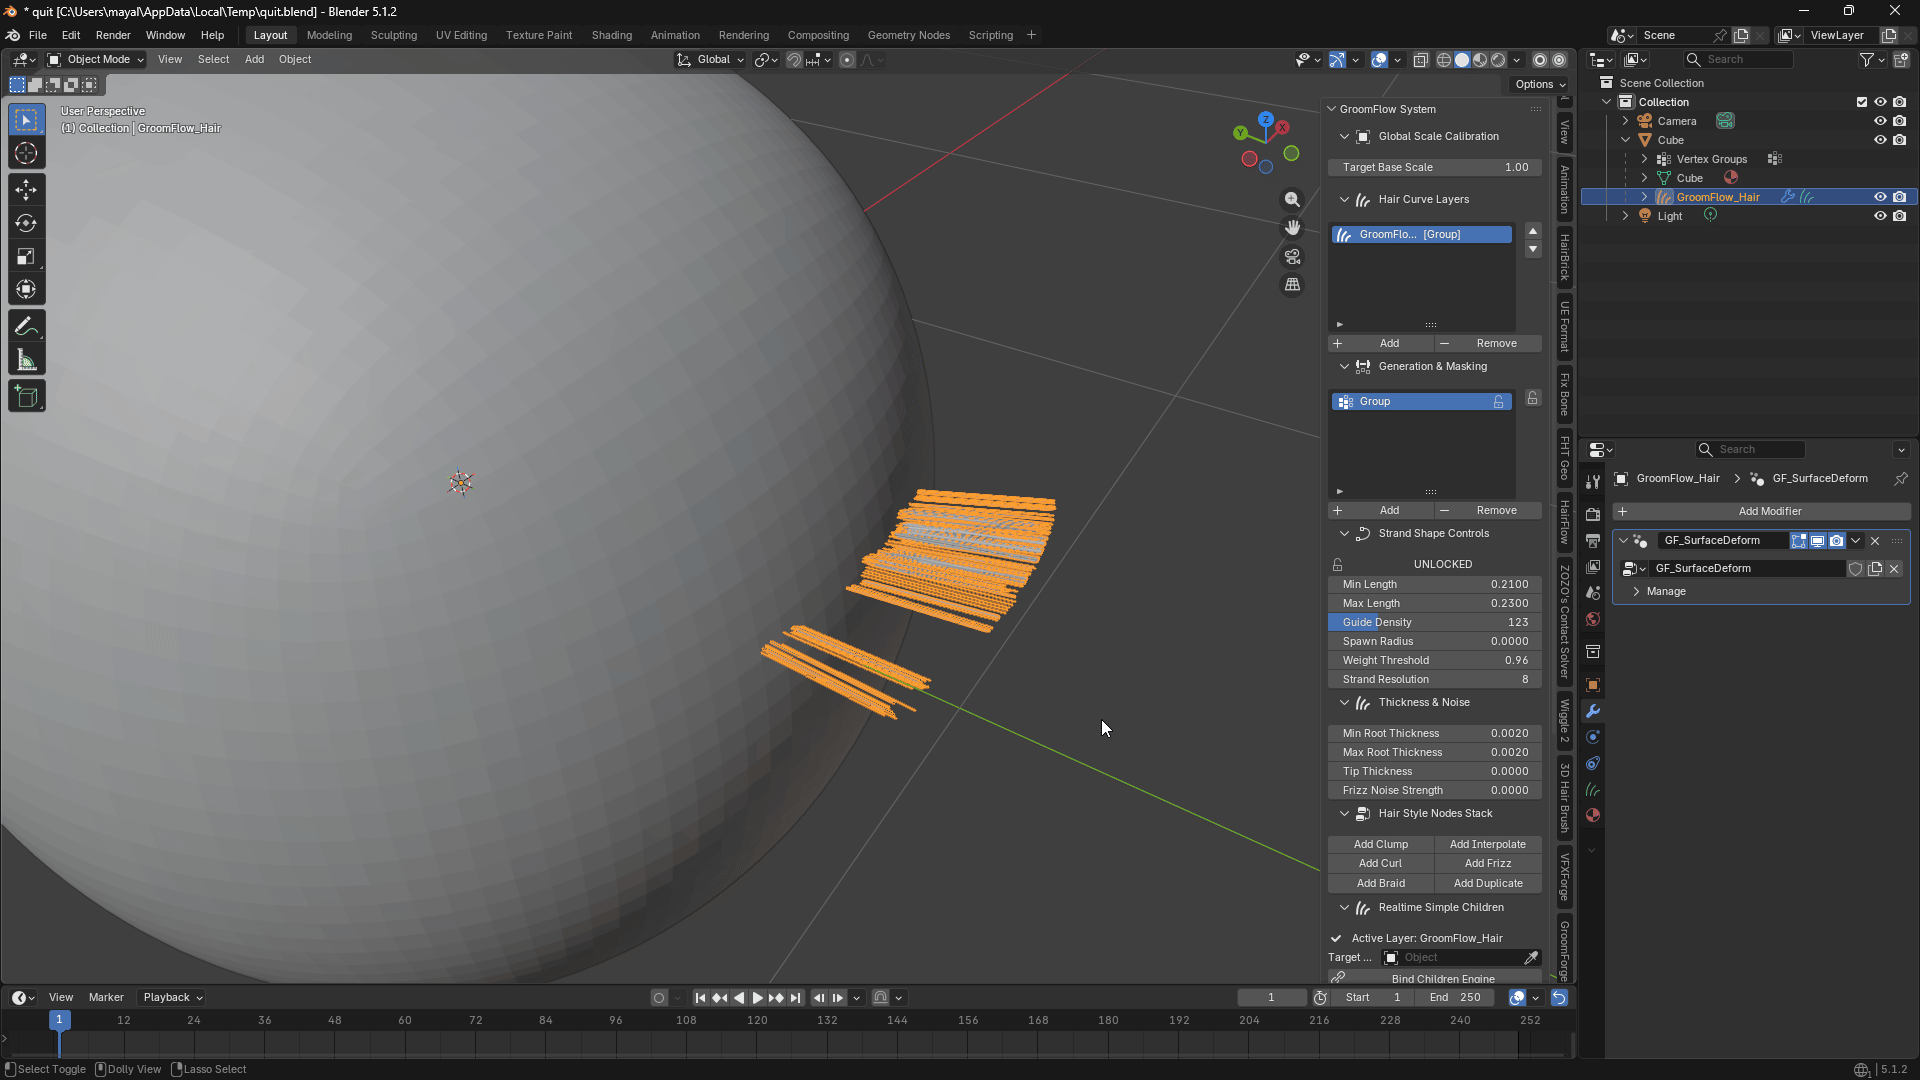
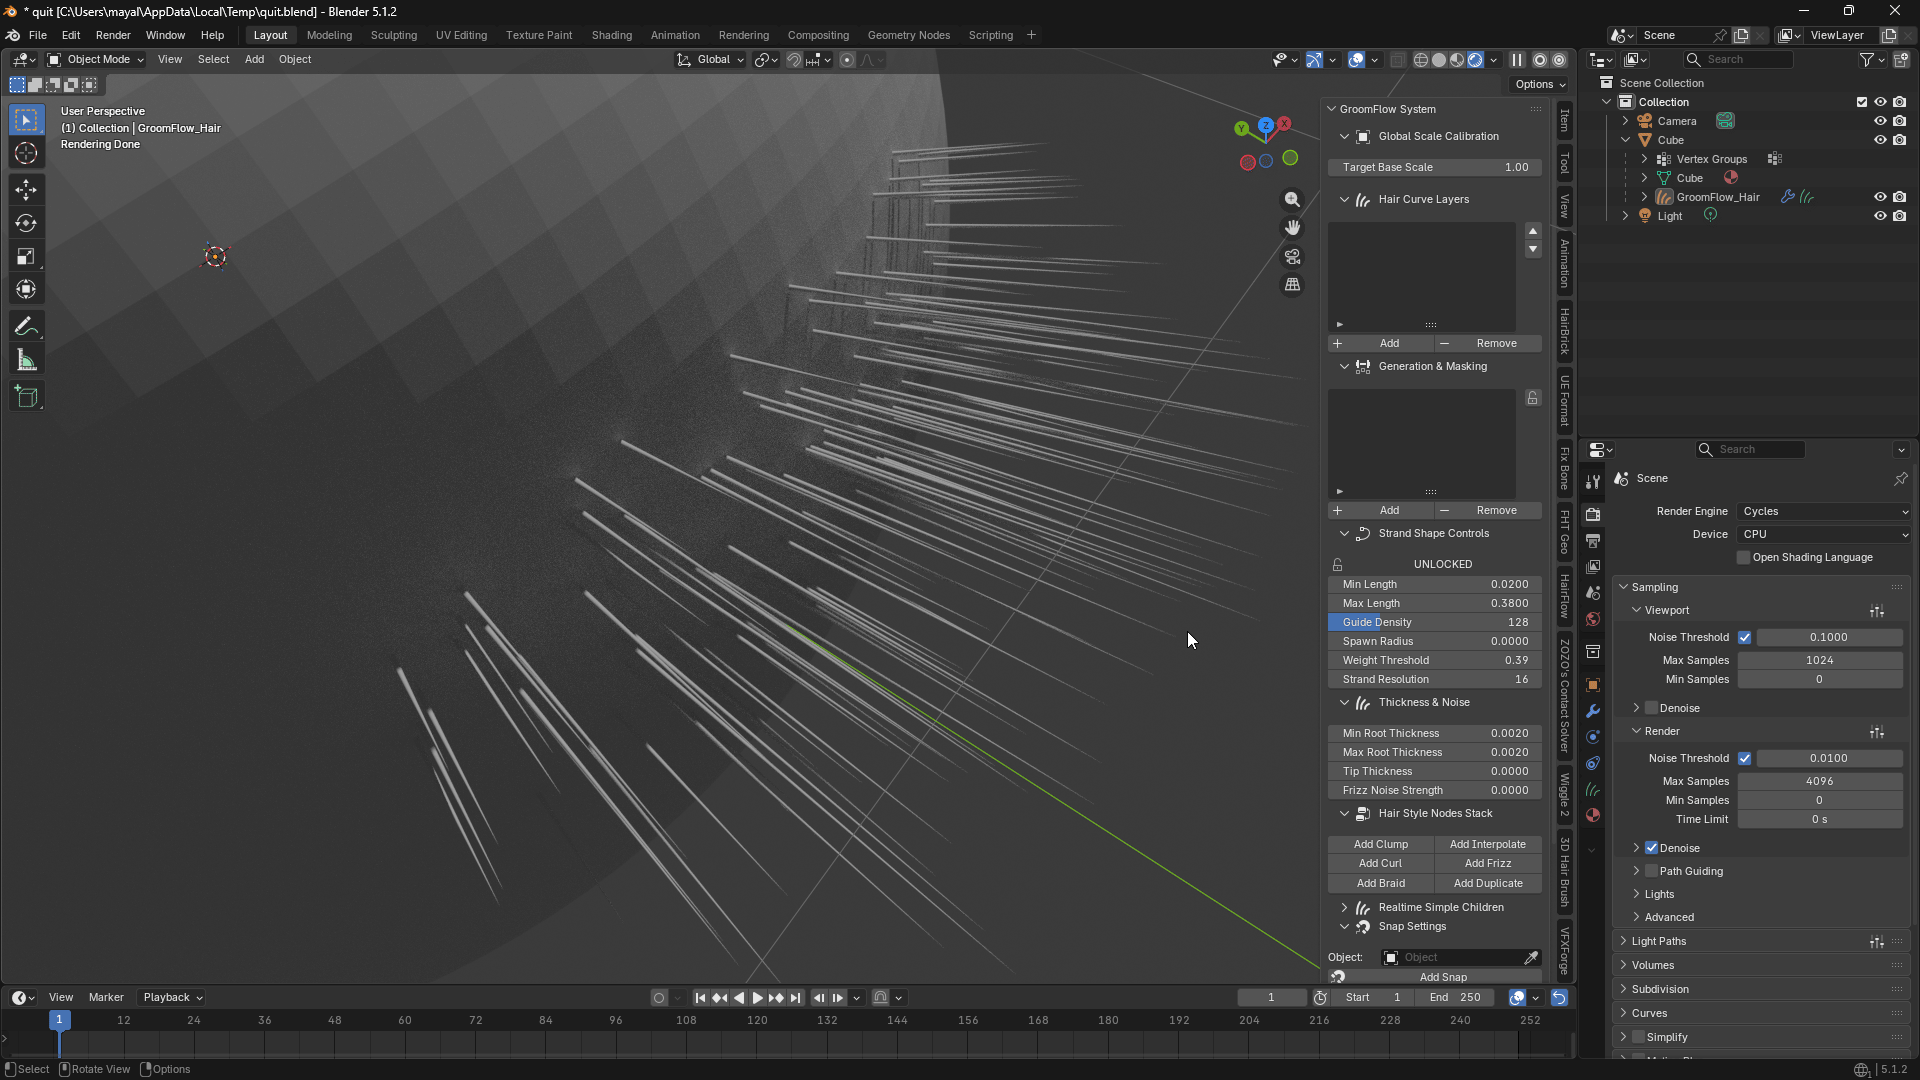
- Guide Density
- Controls the total target count of hair guide curves to be generated on the mesh surface.
- Higher numbers spawn denser guides, determining the overall volume and density.
- Spawn Radius
- Controls the random dispersion radius around the vertices where each guide curve is generated.
- At 0.0, it precisely snaps to the surface; increasing the value spreads the spawn positions wider.
- Weight Threshold
- Sets the minimum threshold cutoff filter of the weight map for hair generation.
- Dropping below 0.01 ignores weights to spawn uniformly; raising it cuts off zones below the value.
- Strand Resolution
- Specifies the number of segments (points) and resolution making up a single hair curve.
- Higher values result in smoother and more flexible curves but impact calculation and viewport performance.
5. Thickness & Noise Settings
- Min Root Thickness
- Globally sets the minimum thickness for the root section of the guide curves.
- Used as the lower boundary reference when expressing fine or thin hairs.
- Max Root Thickness
- Globally sets the maximum thickness for the root section of the guide curves.
- Used to define coarse hair or thick foundational guidelines.
- Tip Thickness
- Adjusts the thickness of the hair ends corresponding to the absolute tip of the guide curves.
- Typically set near 0.0 to create a tapering effect that sharpens toward the end.
- Frizz Noise Strength
- Controls the global noise deformation strength that adds a curly or frizzy feel to the hairstyle.
- Increasing the value deviates from straight hair to express an irregular, naturally messy silhouette.
6. Hair Style Nodes Stack
- Add Clump
- Adds a Clump node to the stack, causing hair strands to gather together around the generated guides.
- Used to form hair clumps, creating a more realistic and volumetric hairstyle look.
- Add Interpolate
- Adds an Interpolate node to the stack, generating filled-in strands between the guide curves.
- Drastically increases the overall volume and density of the final hair while maintaining the guide shapes.
- Add Curl
- Adds a Curl node to the stack, applying a circular, permed wave effect along the guide lines.
- Essential for implementing wavy textures or tightly coiled, curly hairstyle aesthetics.
- Add Frizz
- Adds a Frizz node to the stack, introducing irregular and micro-vibrations across the strands.
- Adds a naturally unkempt texture or creates a frizzy effect where hair sticks out in all directions.
- Add Braid
- Adds a Braid node to the stack, weaving multiple hair strands together into a braided pattern.
- Precisely develops stylized, rope-like braids or traditional braided hairstyles.
- Add Duplicate
- Adds a Duplicate node to the stack, multiplying the existing curves with a structural offset.
- Quickly layers hair or amplifies volume as a batch without disrupting the original data flow.
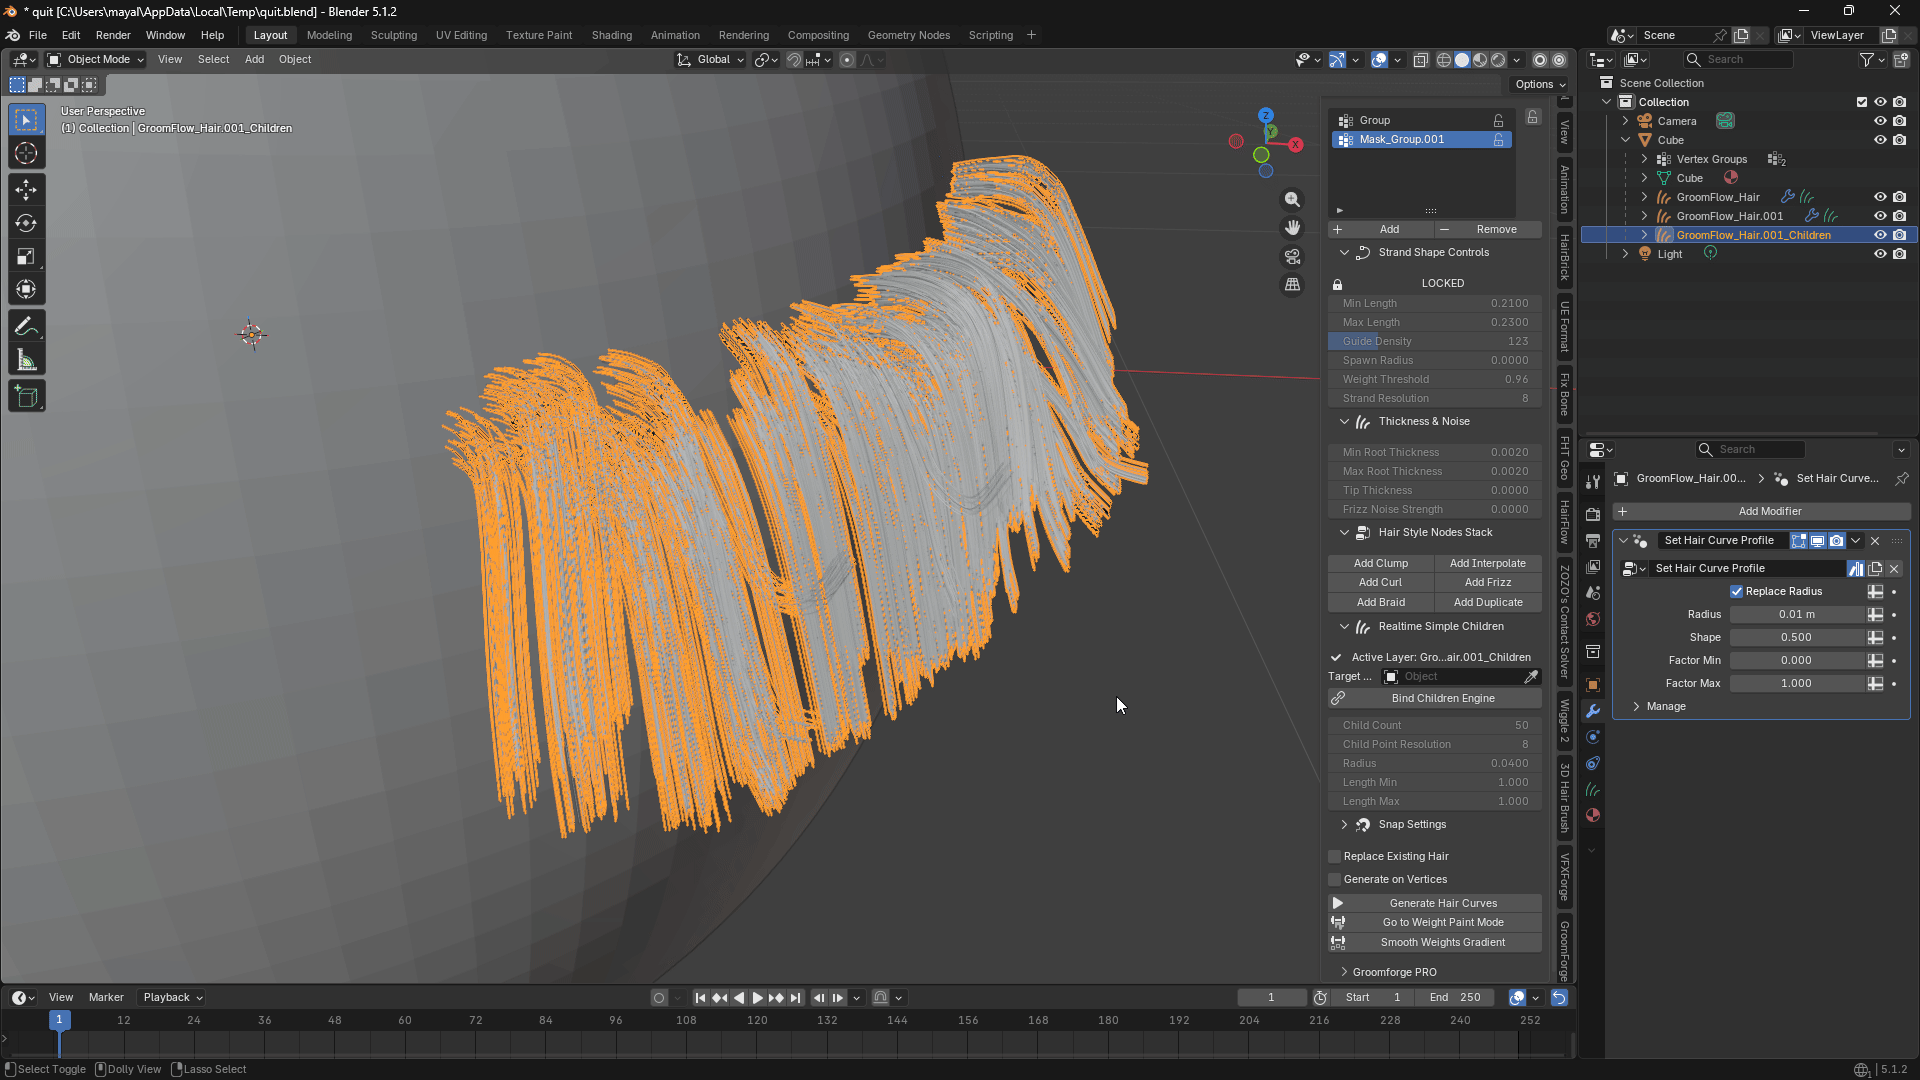
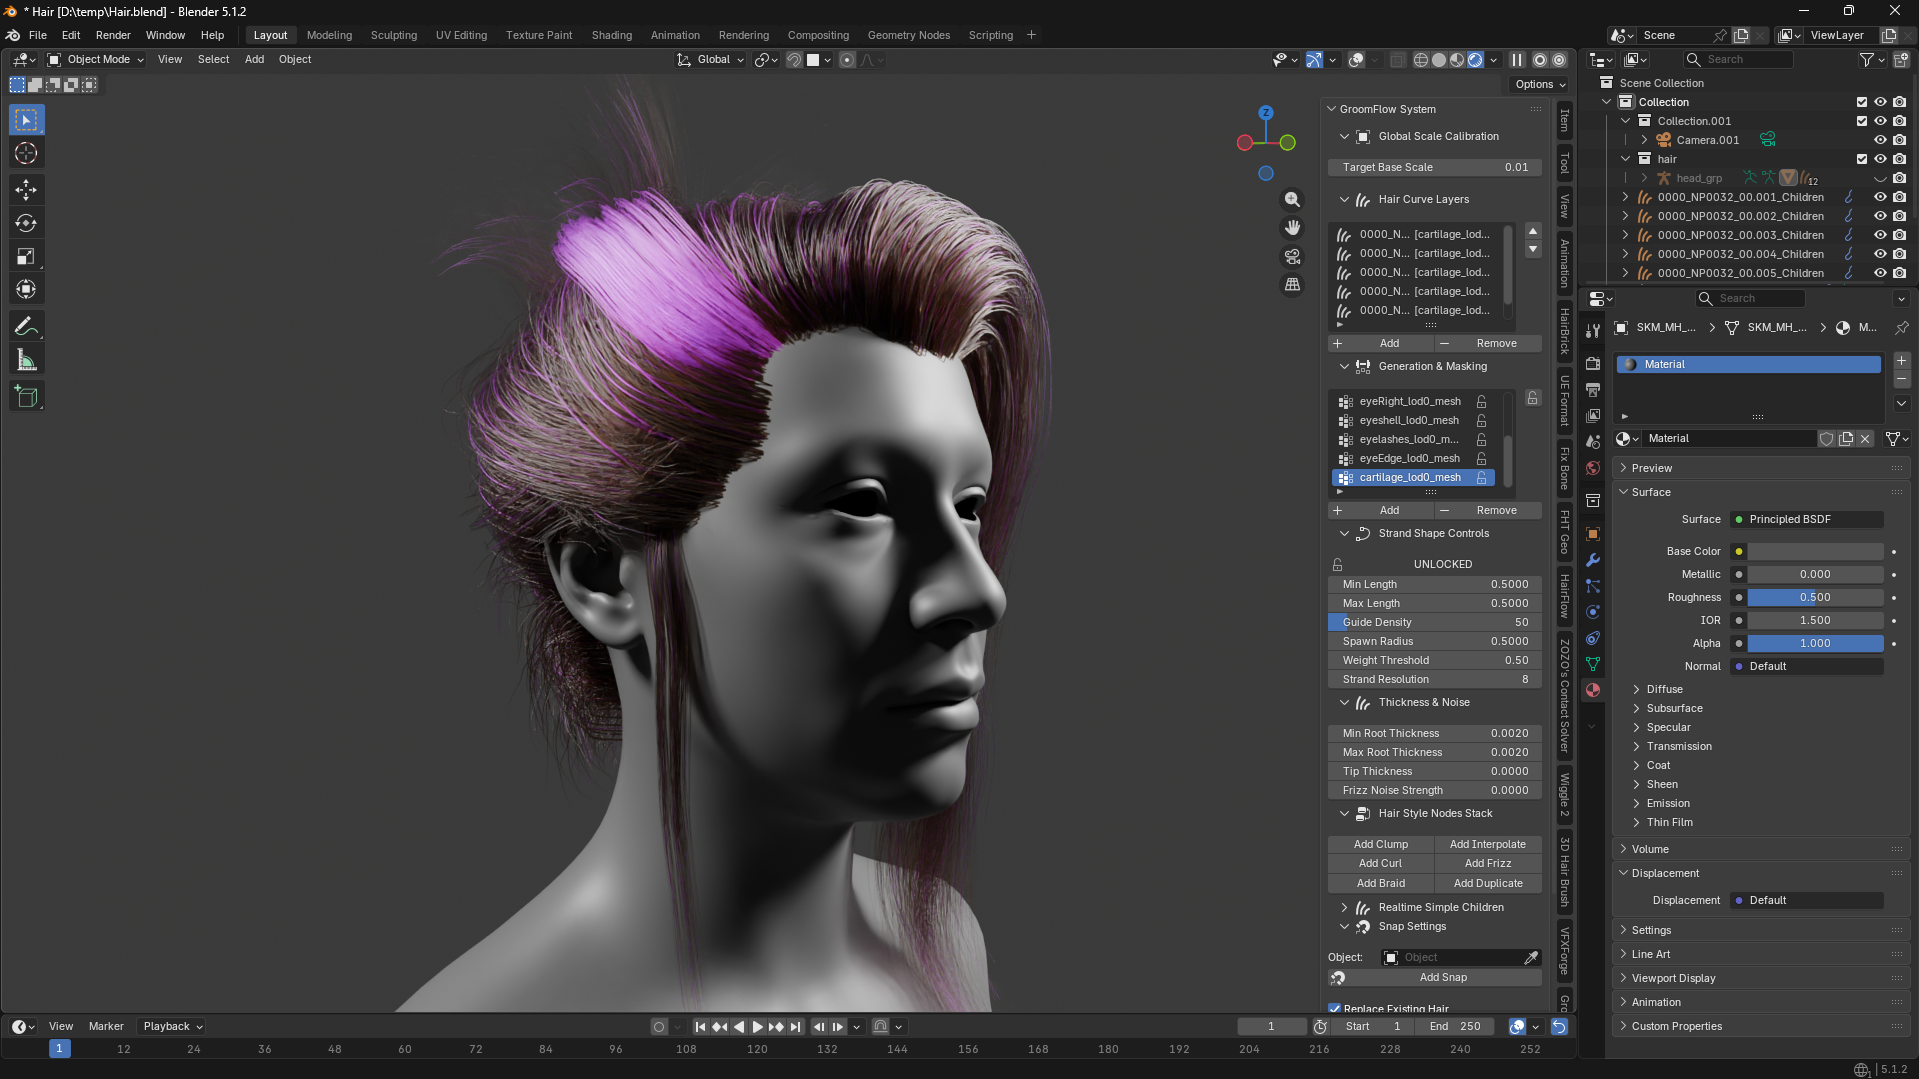
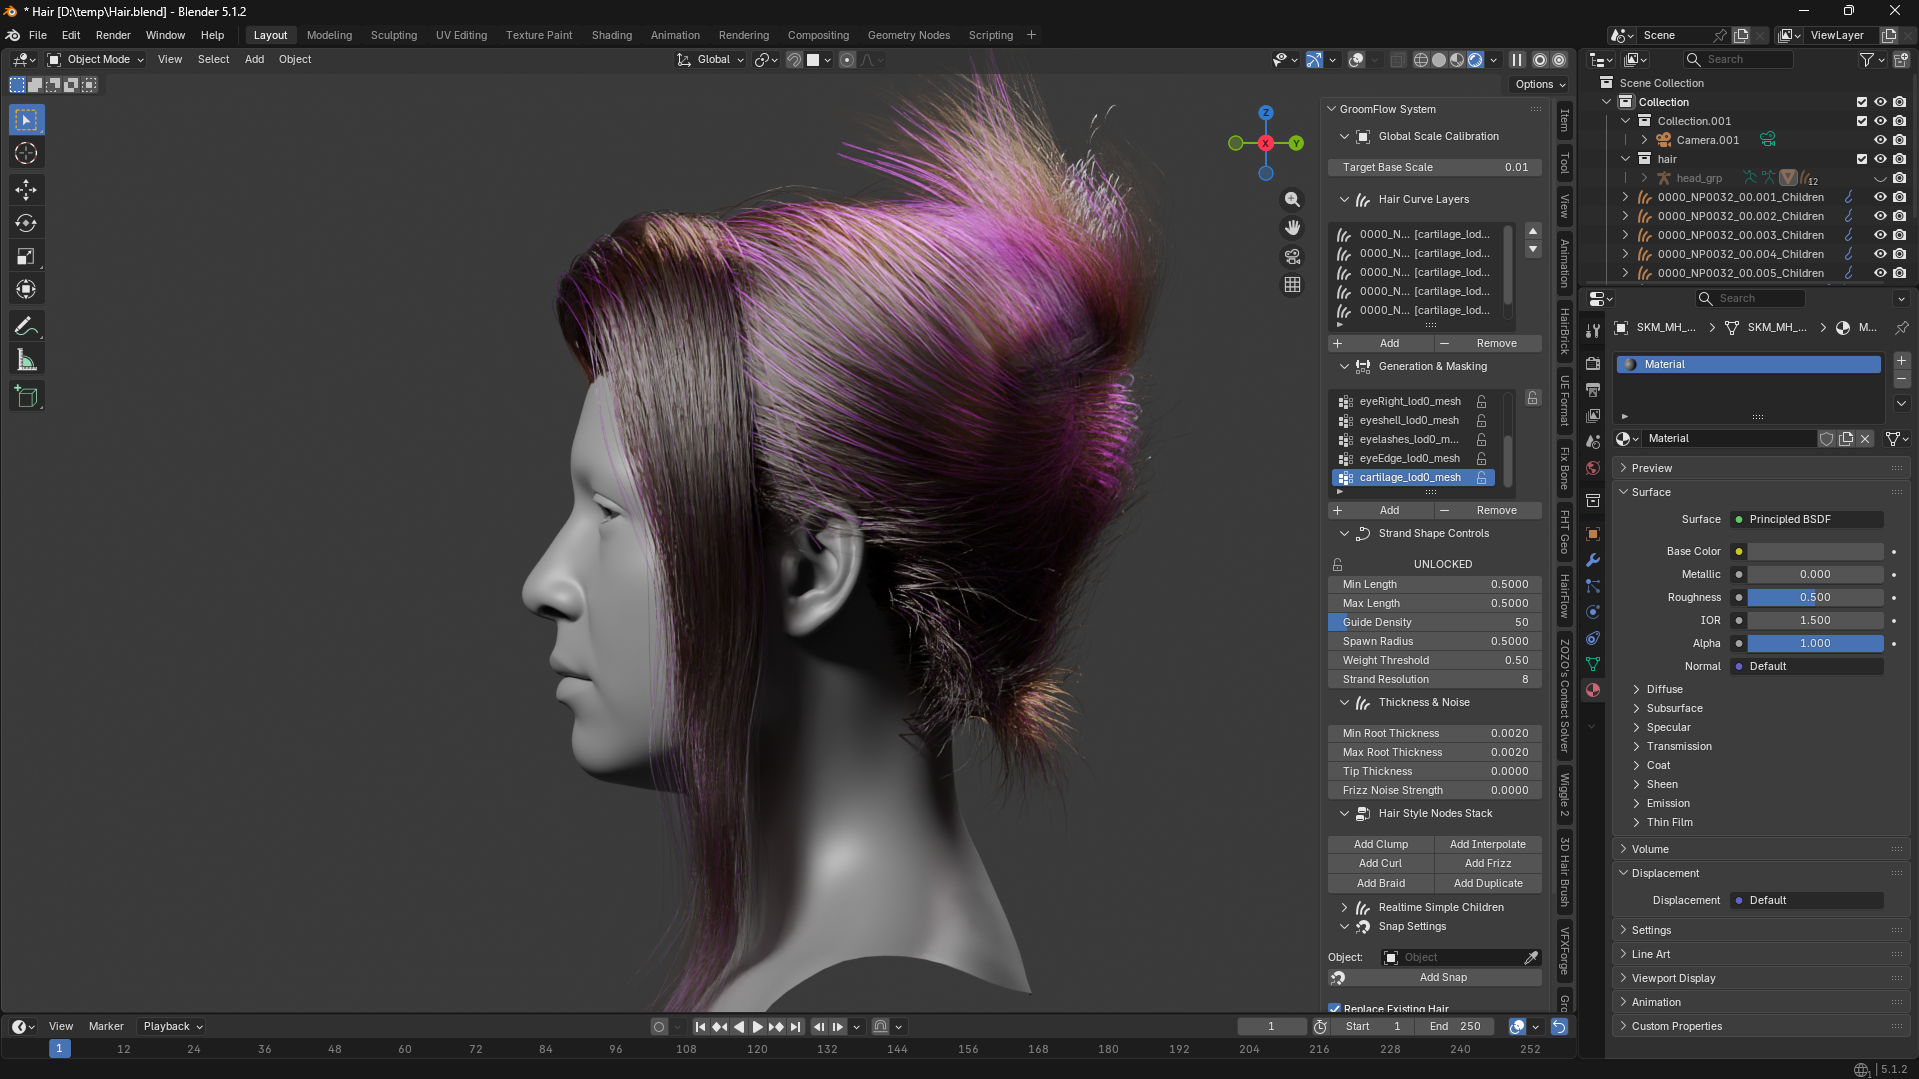
7. Realtime Simple Children
- Active Layer
- Displays the name of the currently active hair layer receiving the realtime children calculation.
- Clarifies and locks the target layer to prevent conflicts when multiple hair systems exist.
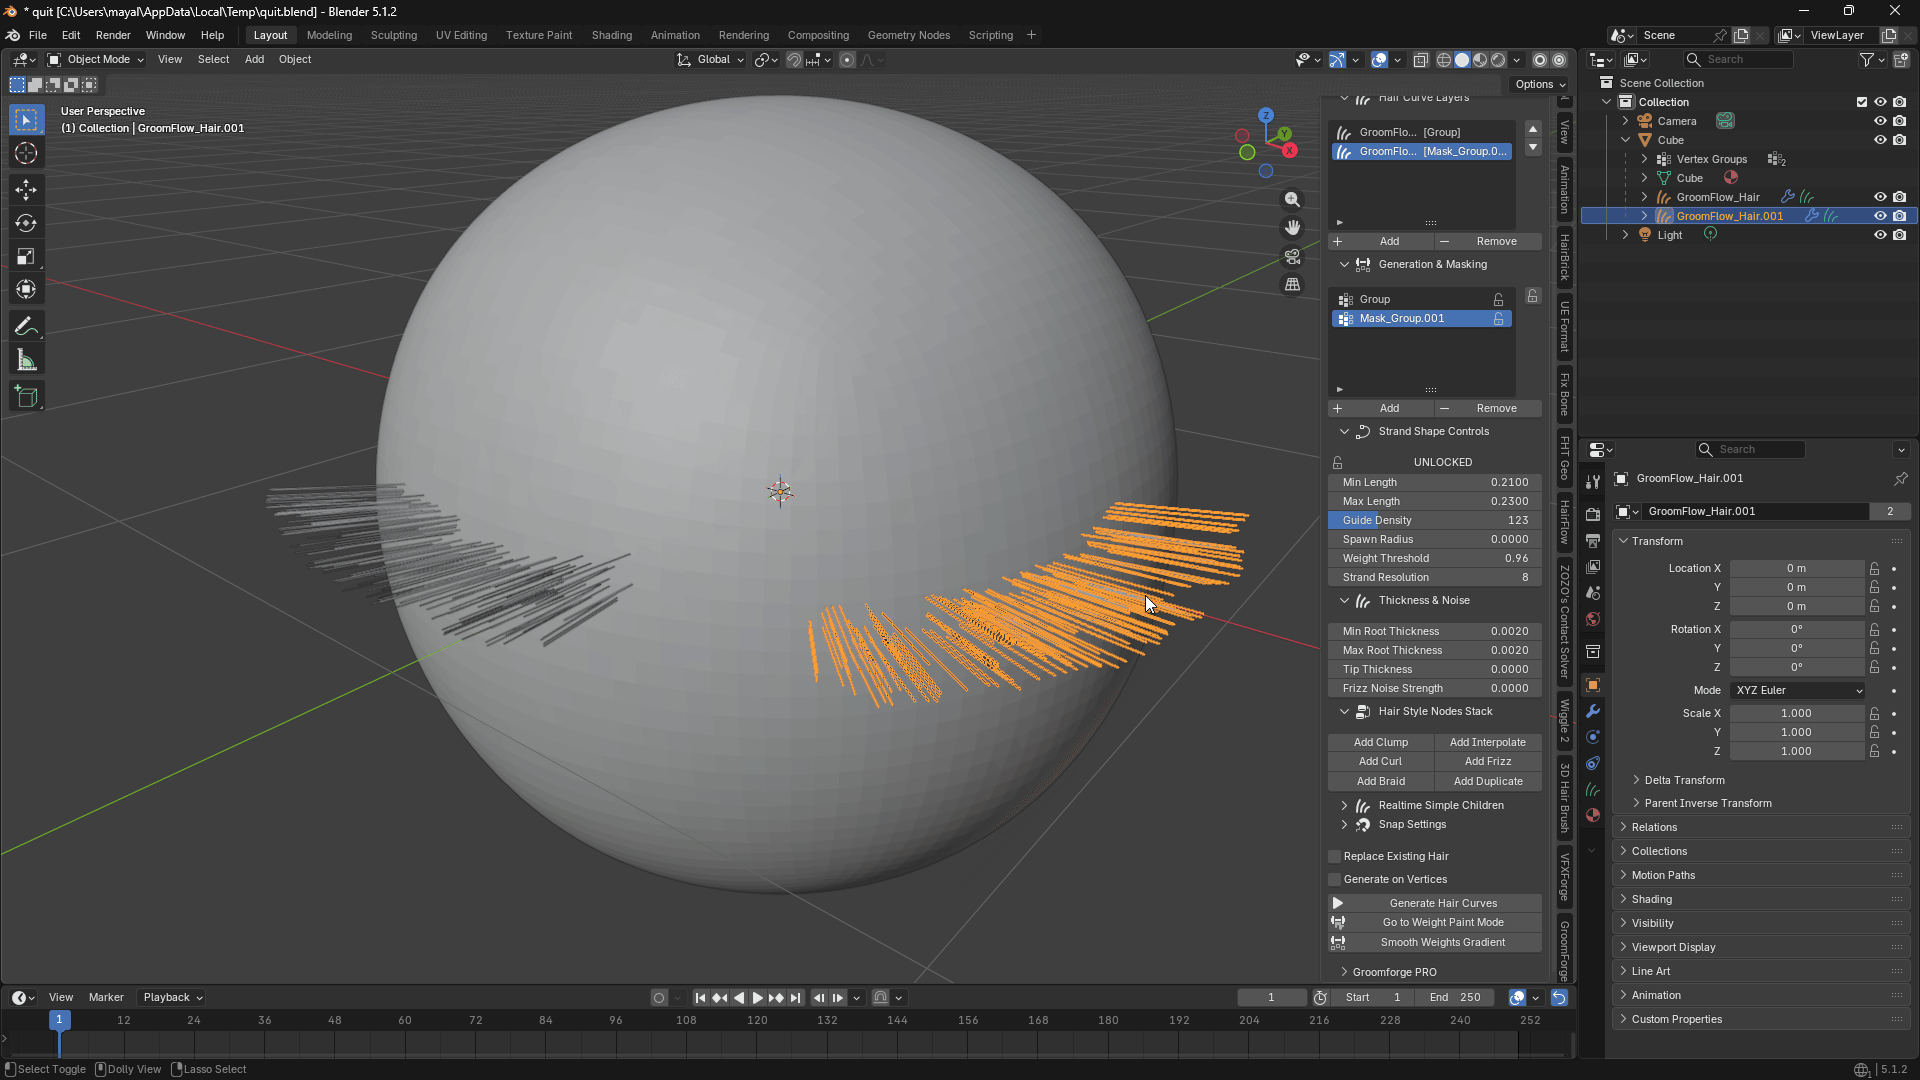
- Target Object
- Specifies the target base mesh (scalp or character body) where the guide curves will bind.
- Uses the eyedropper tool to directly select and bind the target mesh from the viewport.
- Bind Children Engine
- Connects and activates the realtime children acceleration engine between the mesh and hair layer.
- Clicking this to complete the binding unlocks and links the sub-property sliders below.
- Child Count
- Sets the number of child strands to be generated and duplicated around each parent guide curve.
- Key parameter for maximizing hair volume in realtime while preserving viewport performance.
- Child Point Resolution
- Specifies the number of points and resolution making up a single generated child strand.
- Higher values result in smoother child curves but increase the realtime viewport calculation load.
- Radius
- Controls the random dispersion radius where child strands spread around the parent guide curve.
- Smaller values bundle the strands tightly, while higher values spread them wider around the parent.
- Length Min
- Sets the minimum length ratio of child strands relative to the parent guide curve length.
- Dropping below 1.0 introduces randomly shorter hairs among the children for a natural look.
- Length Max
- Sets the maximum length ratio of child strands relative to the parent guide curve length.
- Adjusts the value to express stray hairs sticking out past the parent or layered hair styles.
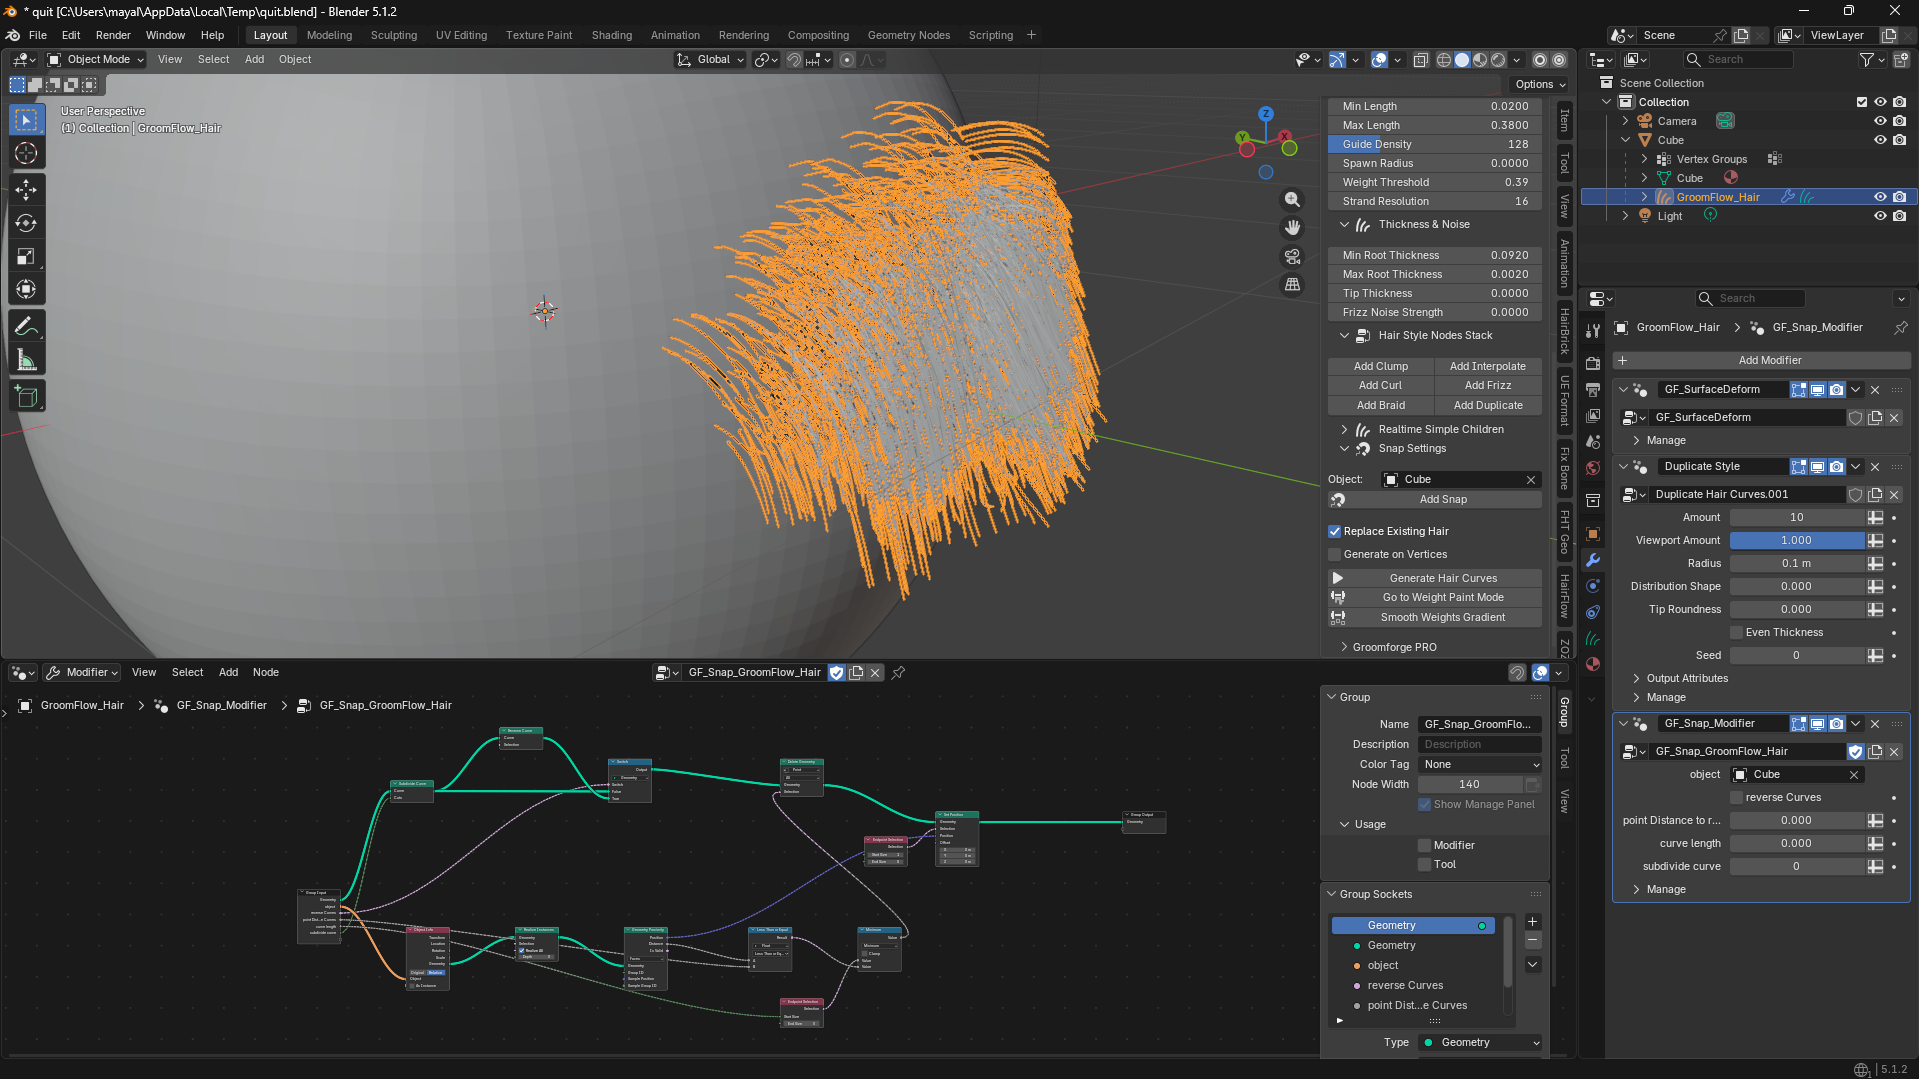
8. Snap Settings (Geometry Nodes Precision Snap)
- Object
- Specifies the target mesh where the roots of the hair guide curves will precisely snap and bind.
- Uses the eyedropper tool to select the scalp or body object as the reference surface for snap calculations.
- Add Snap
- Applies a precision snap system based on Geometry Nodes, overcoming the limitations of Blender's native snapping.
- Ensures hair roots wrap perfectly onto the surface in realtime without lifting or clipping, even during mesh deformations (simulations, shape keys, etc.)
9. Unreal Engine Pipeline & Expert Synergy Workflow
Finalize your asset data blocks and prepare your grooms for cinematic export integration.
* Global Scale Calibration (The Target Base Scale Control)
* Blender and Unreal Engine handle FBX/Groom world scale matrices completely differently.
* Often causes imported hairstyles to explode into giant sheets or shrink into microscopic pins upon export.
* Procedural Pre-Baking Calibration:
* Instead of unreliably changing the raw Blender Unit or risking matrix artifacts during asset export, adjust the Target Base Scale slider to calibrate your groom dynamically.
* Flawless Pipeline Target:
* Keep it at 1.00 for standard Blender rendering setups.
* Set it precisely to your target engine scaling coefficient before running ultimate simulation exports.
* Enforces an absolute transformation sync into Unreal Engine 5.7+ New Dataflow system without altering the core mesh scales.
* Professional GroomForge Pro Synergy
* Exporting hair meshes can be tricky due to world matrices mismatches across different software spaces.
* Seamless Matrix Synchronization:
* When paired with the GroomForge Pro add-on, your separated guide and child strand layers bypass all transformation conversion issues entirely.
* Ensures a 100% flawless, automated import layout into Unreal Engine's native Groom asset system without manual repositioning.
* Performance Tip (Resolution Management)
* Optimize your setup dynamically to maintain professional-grade viewport reactivity while working on dense hair grooms.
* Real-time Efficiency:
* Lower the Strand Resolution down to 4 or 6 while designing massive hairstyles to maximize your viewport FPS smoothness.
* Simply bump it back up to 12 right before rendering final frames in Cycles or executing your absolute groom exports to Unreal Engine.